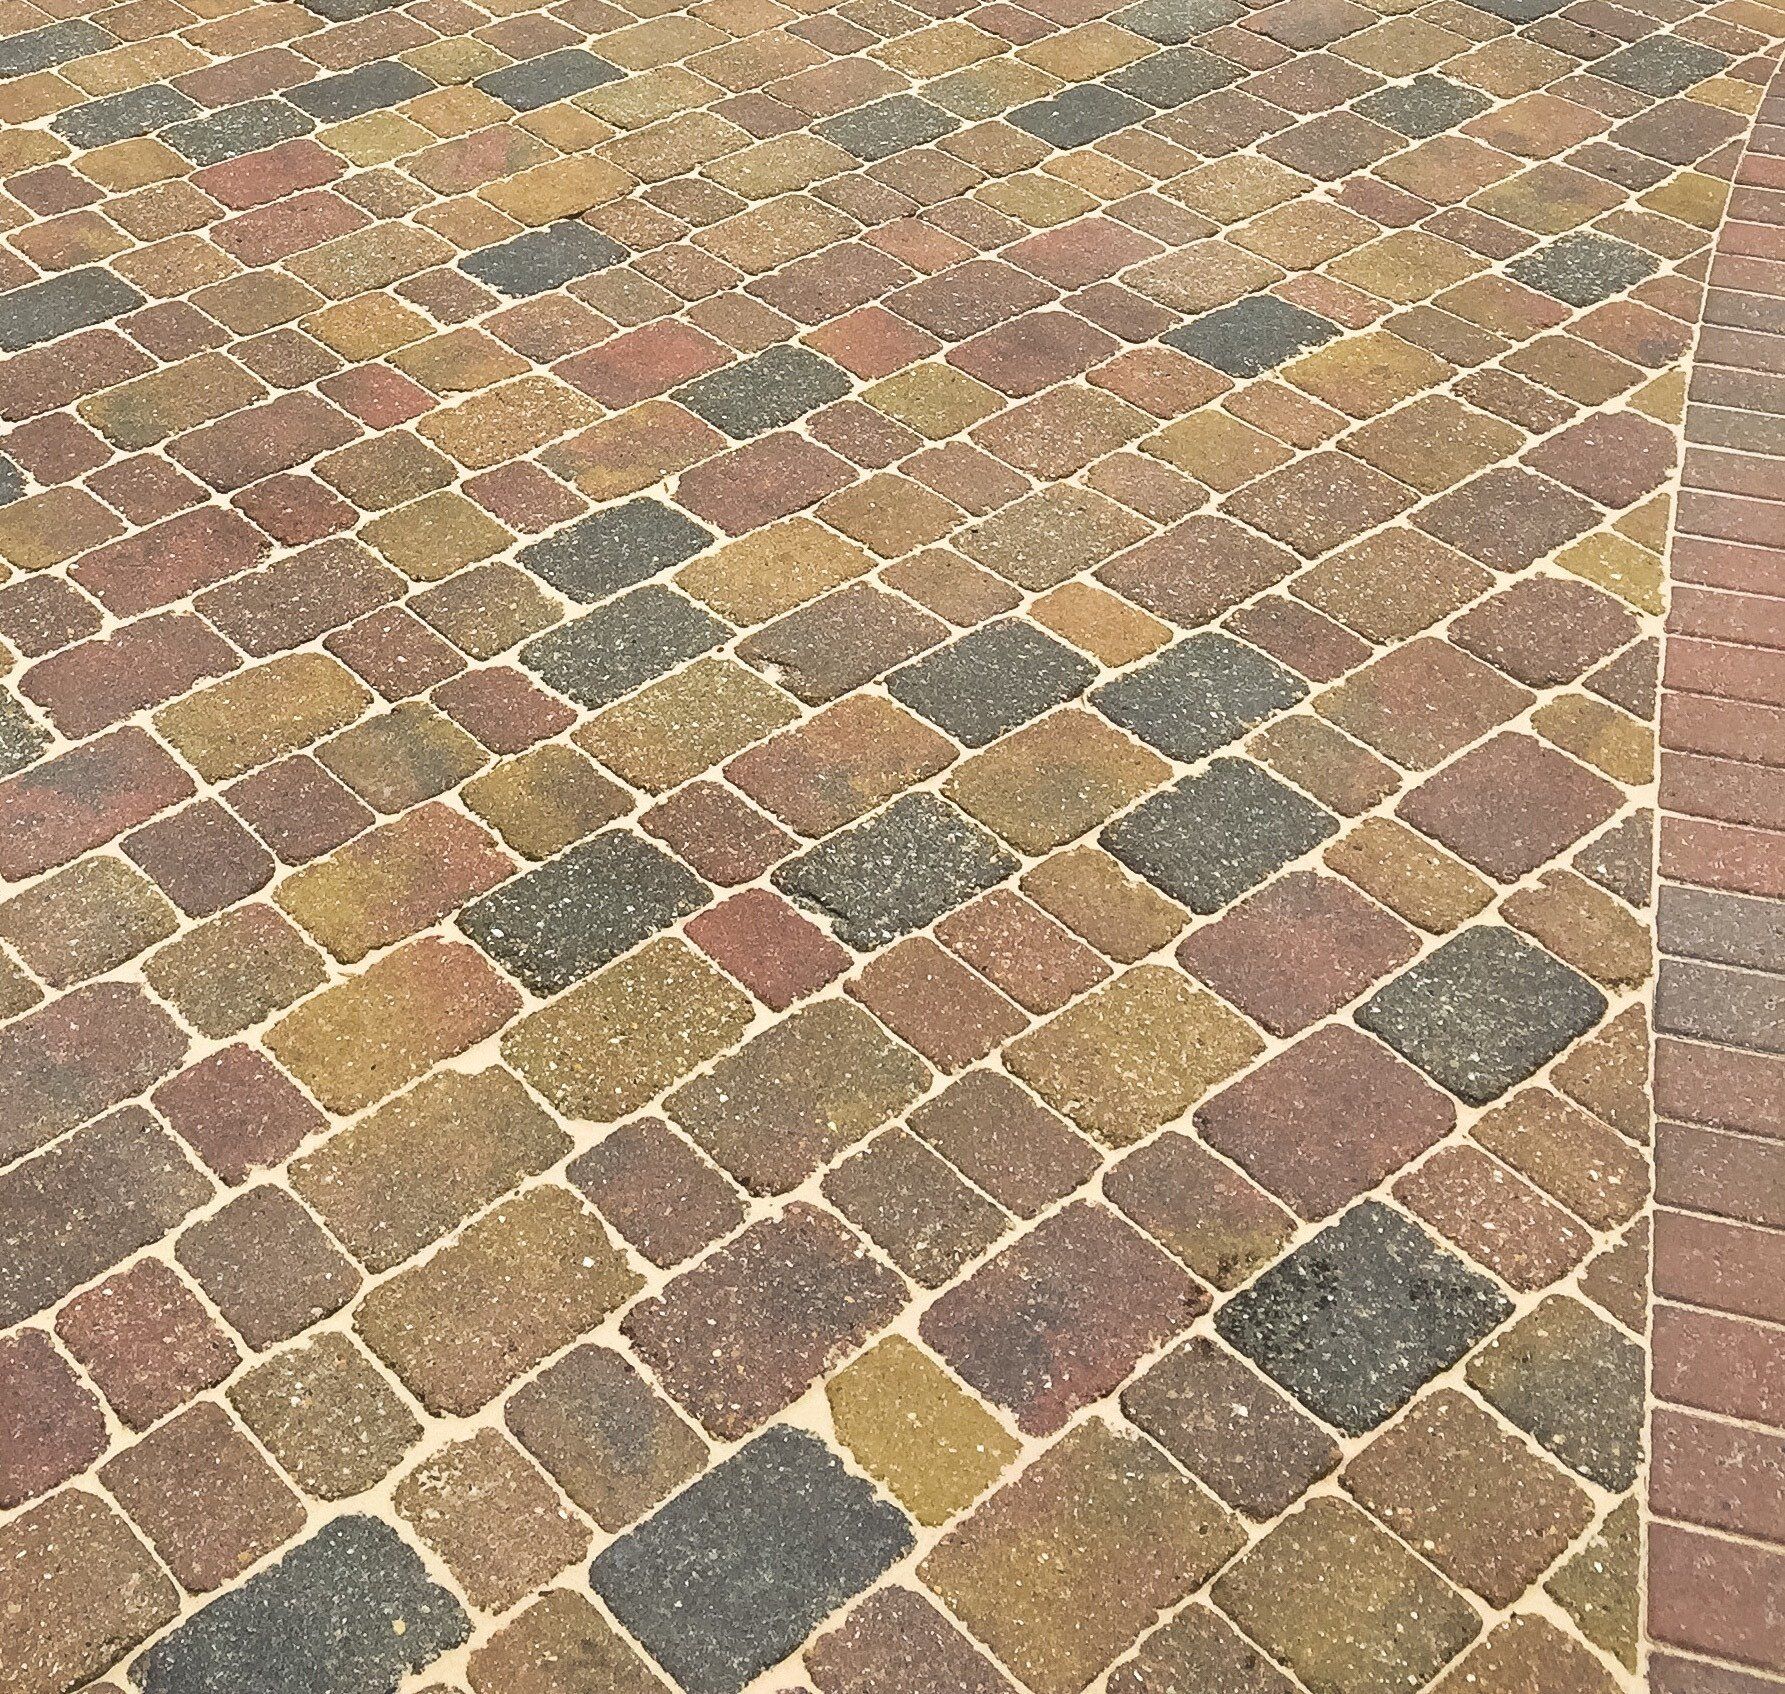
A block pave driveway adds a touch of elegance and sophistication to any home. However, over time, exposure to the elements, vehicle traffic, and everyday wear and tear can leave it looking tired and worn.
To maintain its beauty and longevity, regular cleaning and sealing are essential. In this guide, we'll walk you through the step-by-step process of cleaning and sealing your block pave driveway, helping you keep it looking pristine for years to come.
Step 1: Preparation
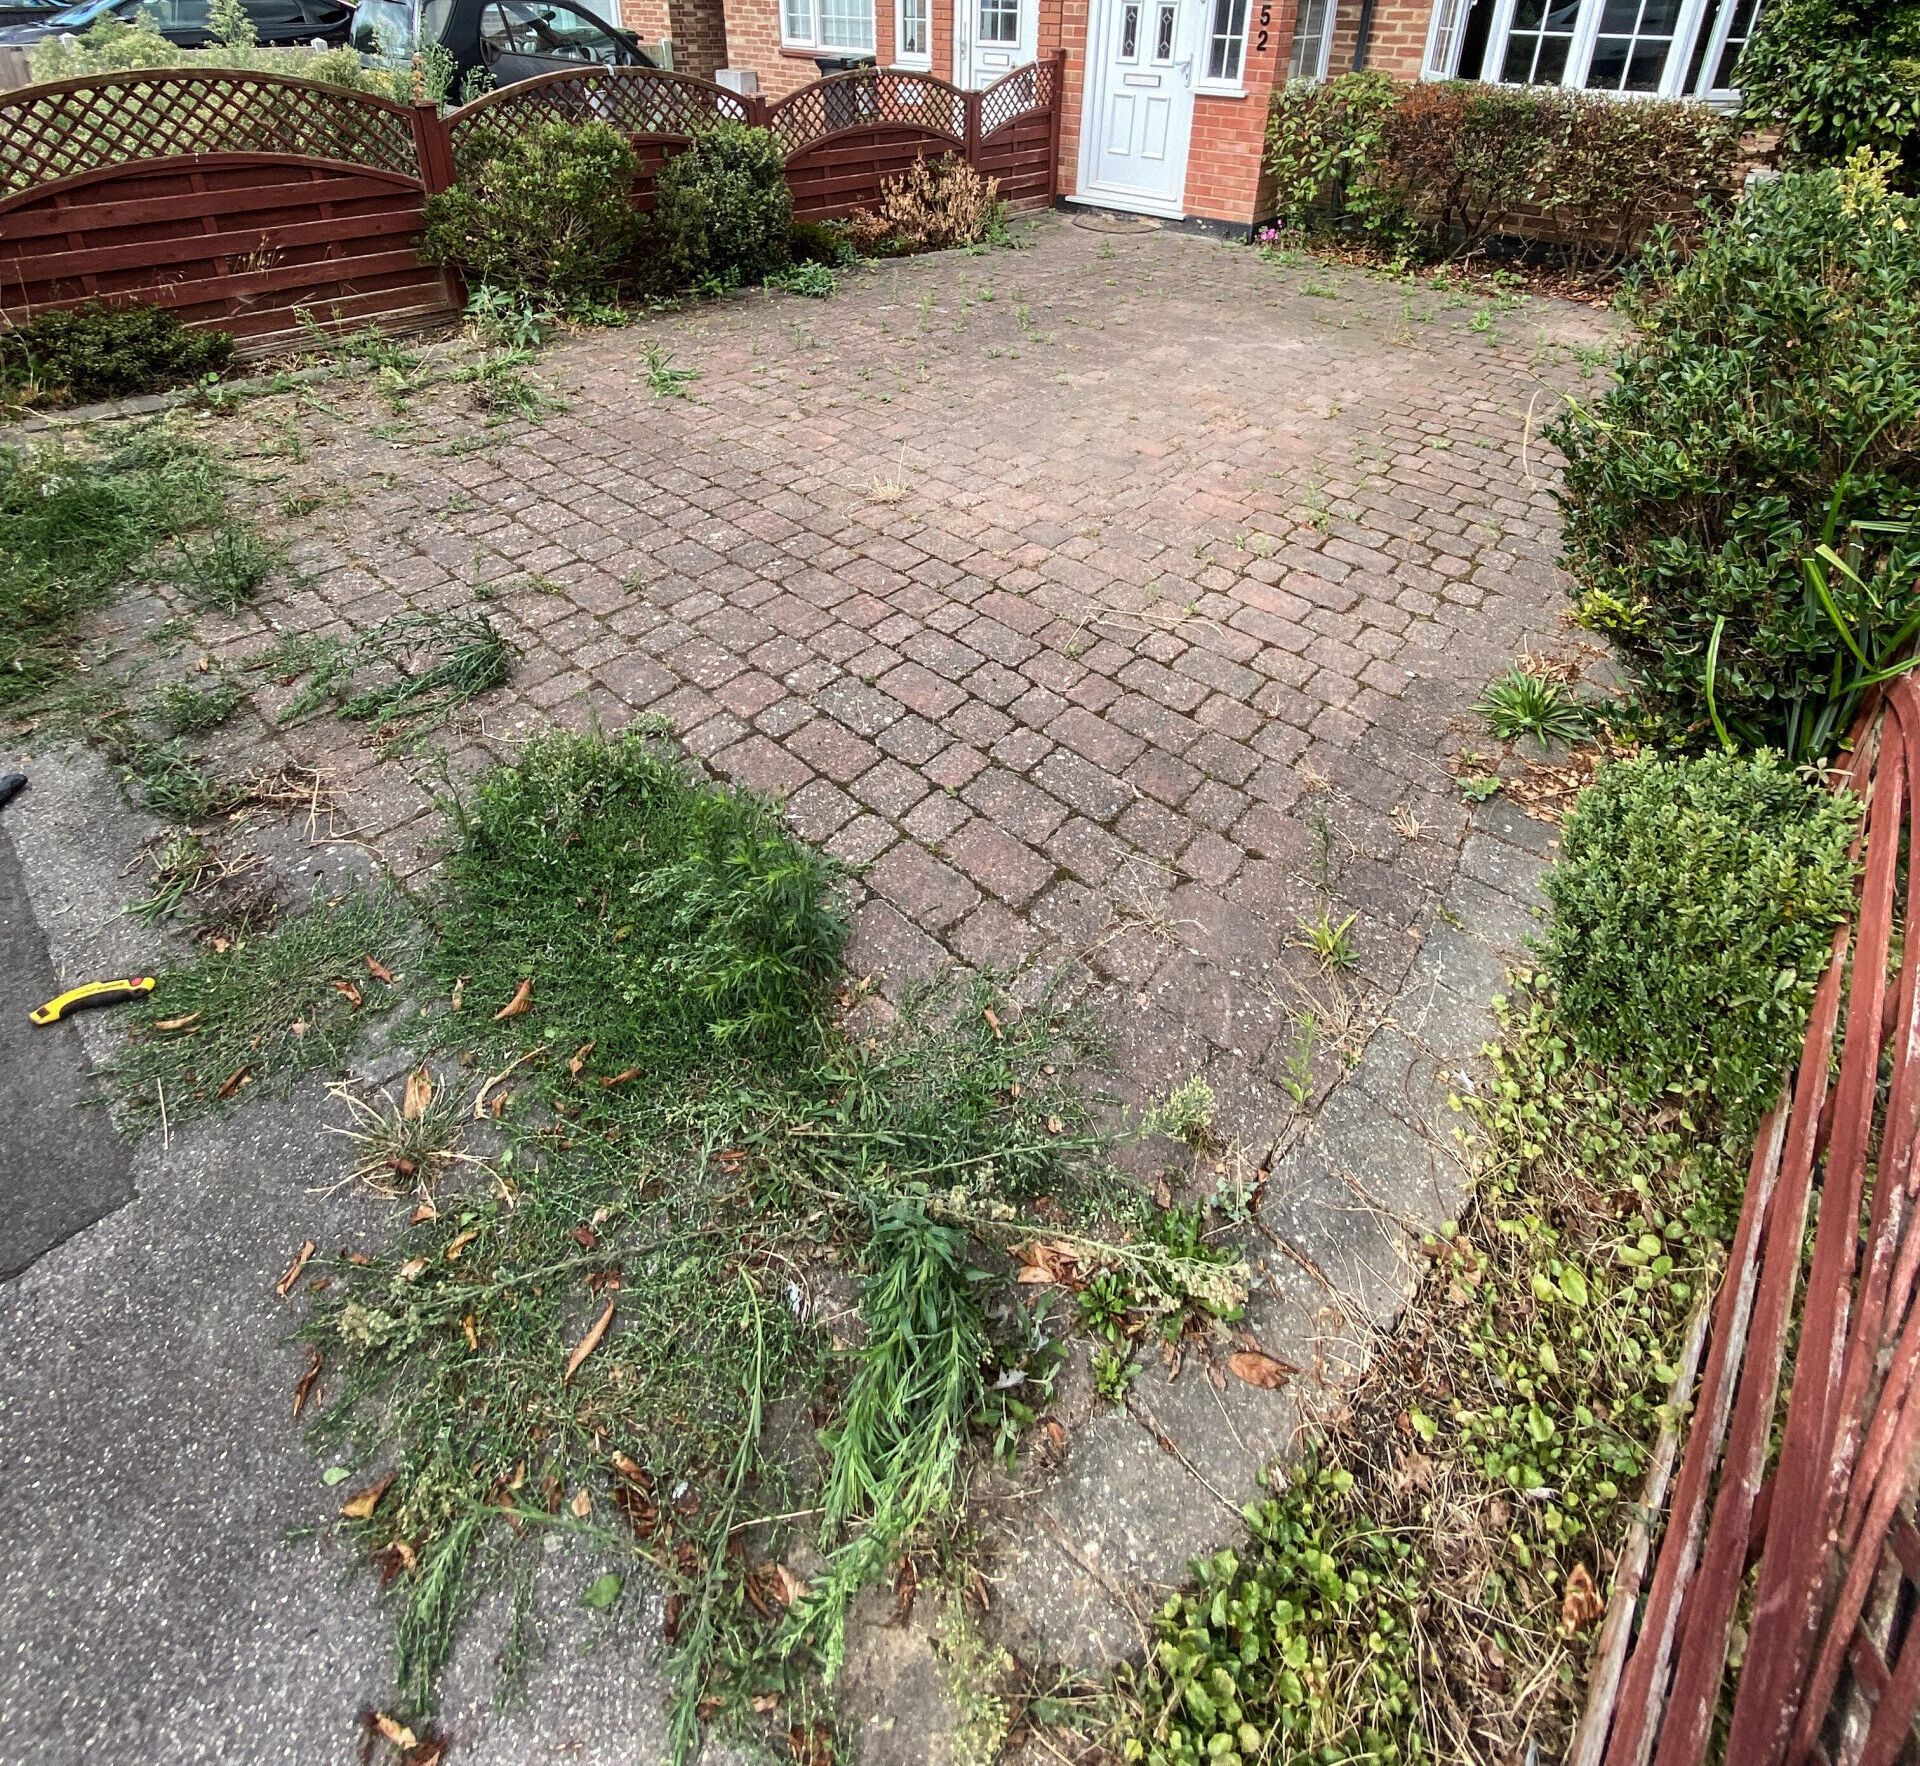
Before diving into the cleaning process, it's crucial to prepare your driveway properly. Start by removing any obstacles such as vehicles, toys, or outdoor furniture. Next, sweep the entire surface to remove loose debris, dirt, and leaves. Pay special attention to any weeds or moss growing between the blocks, as these will need to be addressed later in the process.
Step 2: Deep Cleaning
Once the surface is clear of debris, it's time to give your driveway a thorough clean. You can use a pressure washer for this task, as it will effectively remove ingrained dirt and grime.
Don't Have A Pressure Washer? Or Prefer A Professional Touch? CLICK HERE For Our Pressure Washing Service Page!
Start by applying a suitable cleaning solution to the surface, ensuring it covers the entire area. Allow the solution to penetrate for a few minutes before using the pressure washer to rinse it away. Work systematically, moving across the driveway in sections to ensure thorough cleaning.
Step 3: Weed and Moss Removal
Weeds and moss can quickly take hold in the gaps between block paves, detracting from the appearance of your driveway. After cleaning, inspect the surface for any remaining weeds or moss and remove them manually using a weed scraper or similar tool. For more stubborn growth, you may need to apply a weed killer specifically designed for use on driveways. Follow the manufacturer's instructions carefully to ensure safe and effective application.
Step 4: Sand Replacement
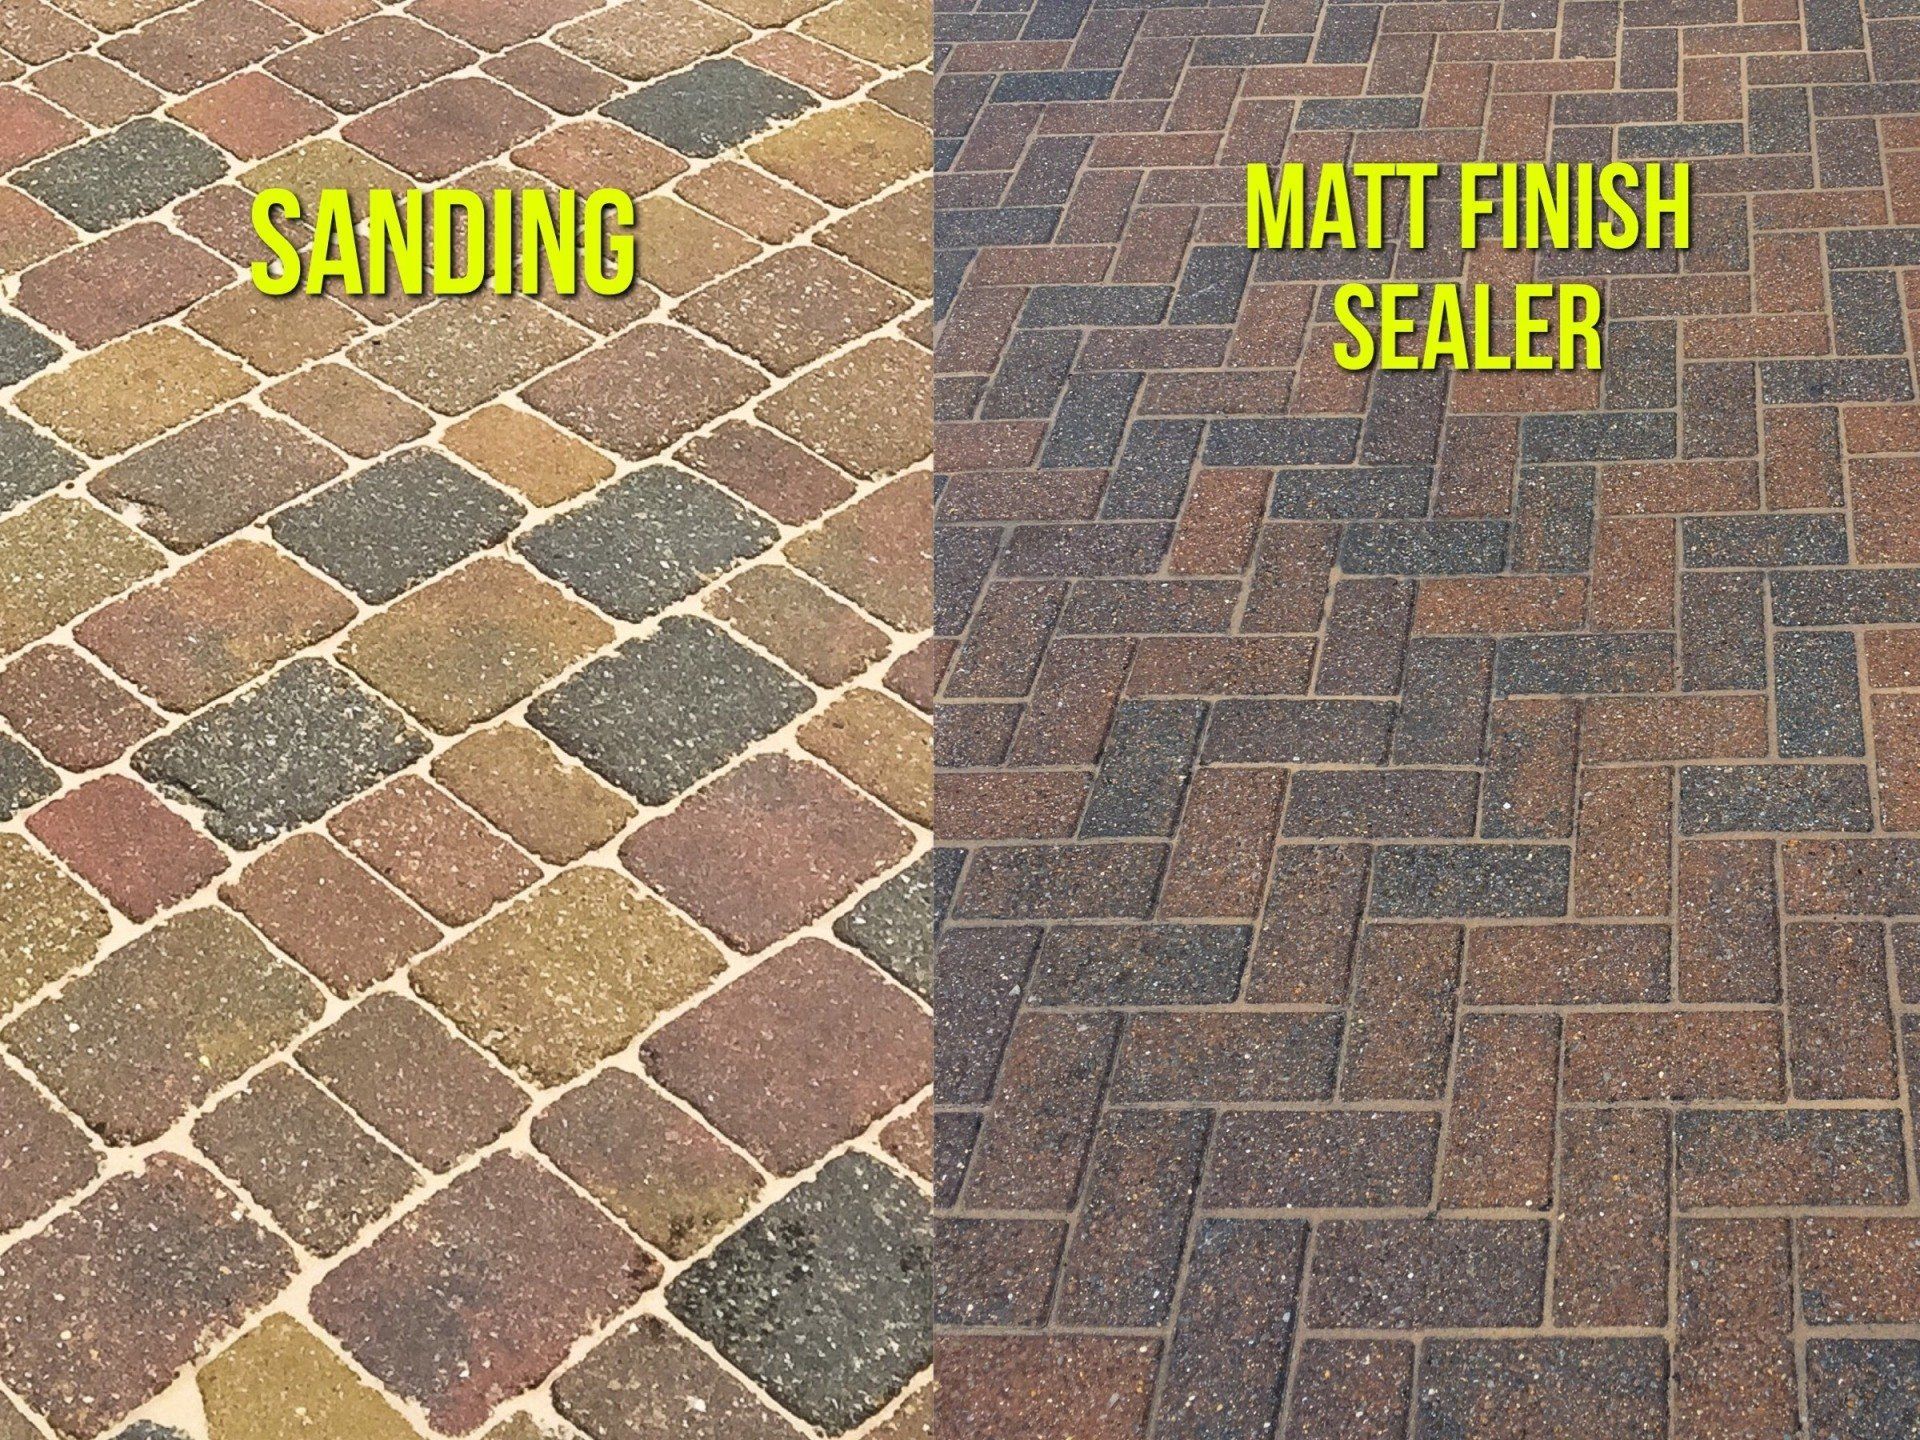
Over time, the sand between the block paves may become displaced or worn away. To maintain the structural integrity of your driveway, it's essential to replenish the sand periodically. Once the surface is clean and free of weeds, spread fresh kiln-dried sand evenly across the driveway using a soft brush or broom. Ensure that the sand fills the gaps between the blocks completely, as this will help prevent weed growth and stabilize the paving.
Step 5: Sealing
The final step in rejuvenating your block pave driveway is sealing. A quality sealer will not only enhance the appearance of the surface but also provide protection against oil stains, UV damage, and water penetration. Choose a sealer specifically formulated for use on block paves, and follow the manufacturer's instructions for application carefully. Typically, this will involve using a roller or sprayer to apply the sealer evenly across the surface, working in small sections to ensure thorough coverage.
Step 6: Allow to Cure
After applying the sealer, allow your driveway to cure fully before allowing any vehicles or foot traffic on the surface. This typically takes around 24-48 hours, depending on the weather conditions and the specific product used. During this time, keep the driveway clear and avoid any activities that could disrupt the curing process.
With proper care and maintenance, your block pave driveway can remain a stunning focal point of your home for years to come. By following the steps outlined in this DIY guide, you can ensure that your driveway stays clean, weed-free, and protected against the elements. Remember to schedule regular cleaning and sealing to keep your driveway looking its best and prolong its lifespan.
If DIY isn't your thing, or if you would prefer a professional touch, CLICK HERE for our pressure washing service page!
Or For A Same-Day Quote..


